| Main | Gameplay | Story | Characters | Music | Miscellaneous |
|---|
In a first for the Touhou series, Scarlet Weather Rhapsody supports netplay without needing to use any third-party programs or modifications. Simply hit the "vs Network" option in the menu.
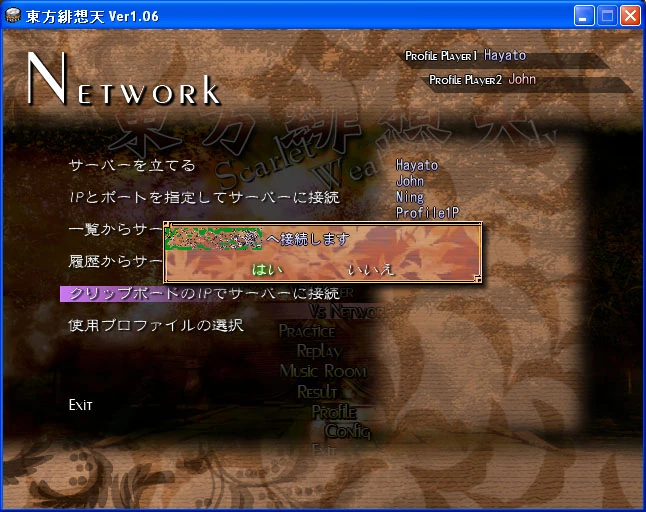
The Vs Network screen[]
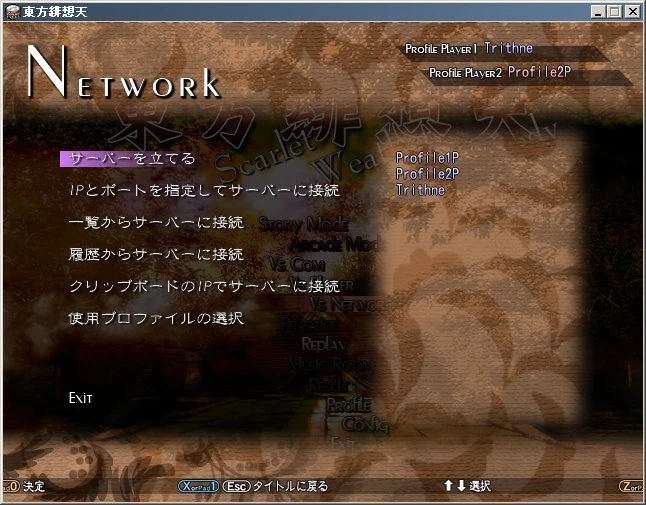
Scarlet Weather Rhapsody vs Network screen
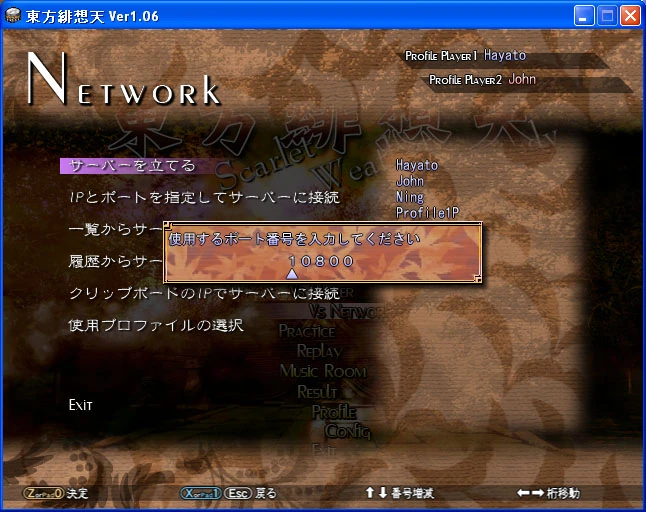
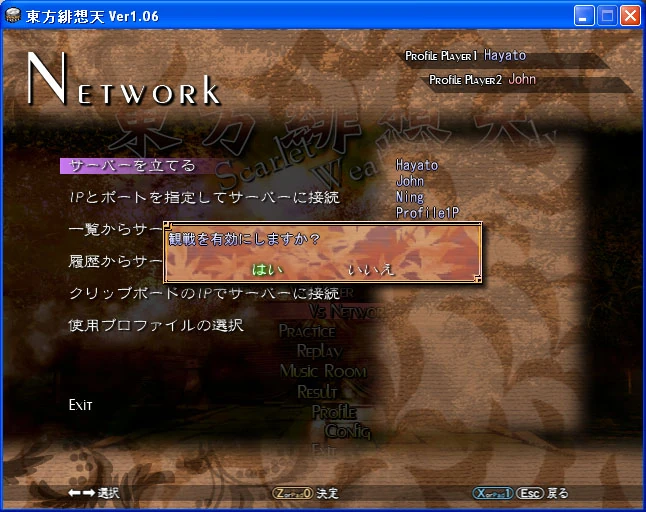
- Host Server.
Will ask you to choose a port number, then asks you whether you want spectators to be allowed in the match or not, then will wait for someone to join.
- Enter and connect to server at IP.
Use the Up, down, left and right buttons to input an IP address and port number to connect to.
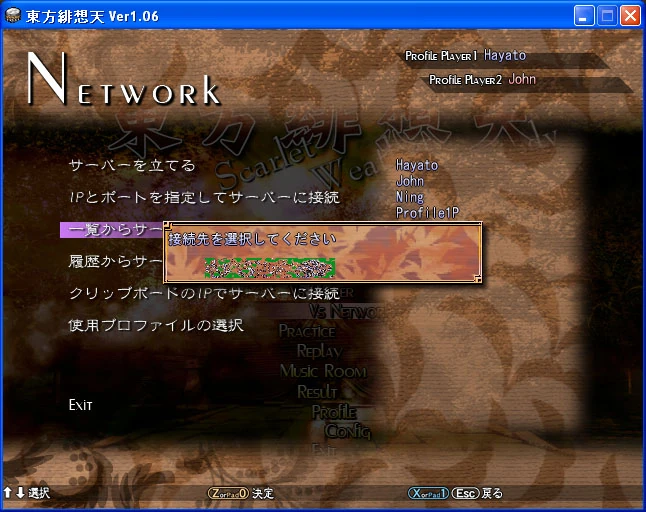
- Connect to server at IP from list.
This gets a list of IPs from the "address.txt" file in the Scarlet Weather Rhapsody game directory. To add IPs to this file, make sure each one is a valid IP:Port combination, and on a separate line. Use the Up and Down buttons to choose between IP addresses to join.
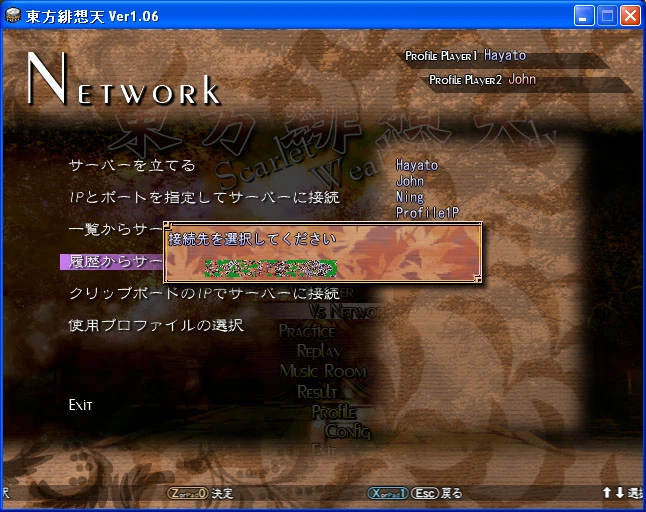
- Connect to server from history.
Brings up a list of previously connected to servers, use Up and Down to choose between them.

This option checks if you have an IP:Port address on the clipboard (i.e: that you have copied in text), and if so, will connect to that address.
- Choose Profile.
Choose which profile you wish to use in netplay.
Issues[]
Scarlet Weather Rhapsody defaults to using UDP port 10800, so people wanting to host games may find it useful to forward that port on their modems. Another alternative if you are having trouble with netplay is to get Hamachi, which simulates a local area network and steps around many of the issues otherwise present in online play.
Touhou 10.5 Netplay Guide[]
- Easy tutorial on how to connect to players using Network Connection. This can also be done using HAMACHI (Version 1.0.1.5 recommended). NOTE: There are several ways to join a server. --MGassailant 22:41, 25 April 2009 (UTC)
Host Server (Host)[]


Enter and Connect to Server IP (Join)[]

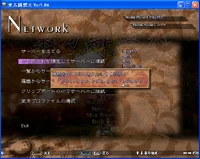
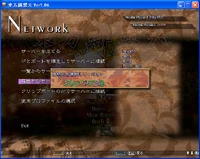
Connect to Server at IP from List (Join)[]
  *Address has been censored |
Message 1: Available IP Addresses[]1) Select from a list of IP Addresses.
|
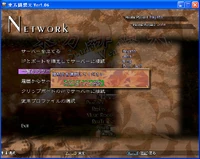
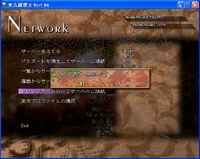
Connect to Server from History (Join)[]
  *Address has been censored |
Message 1: Previous IP Address[]1) Shows the IP Address of a previous server. |
Connect to Server at IP on Clipboard (Join)[]

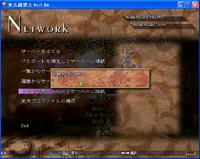
ERROR[]


| |||||||||||||||||||||||||||||

- Return to the Scarlet Weather Rhapsody